LINO PRINT A&S Class
LINO PRINTING
by Symonne de la Croix
(Corina Graham)
26.2.21
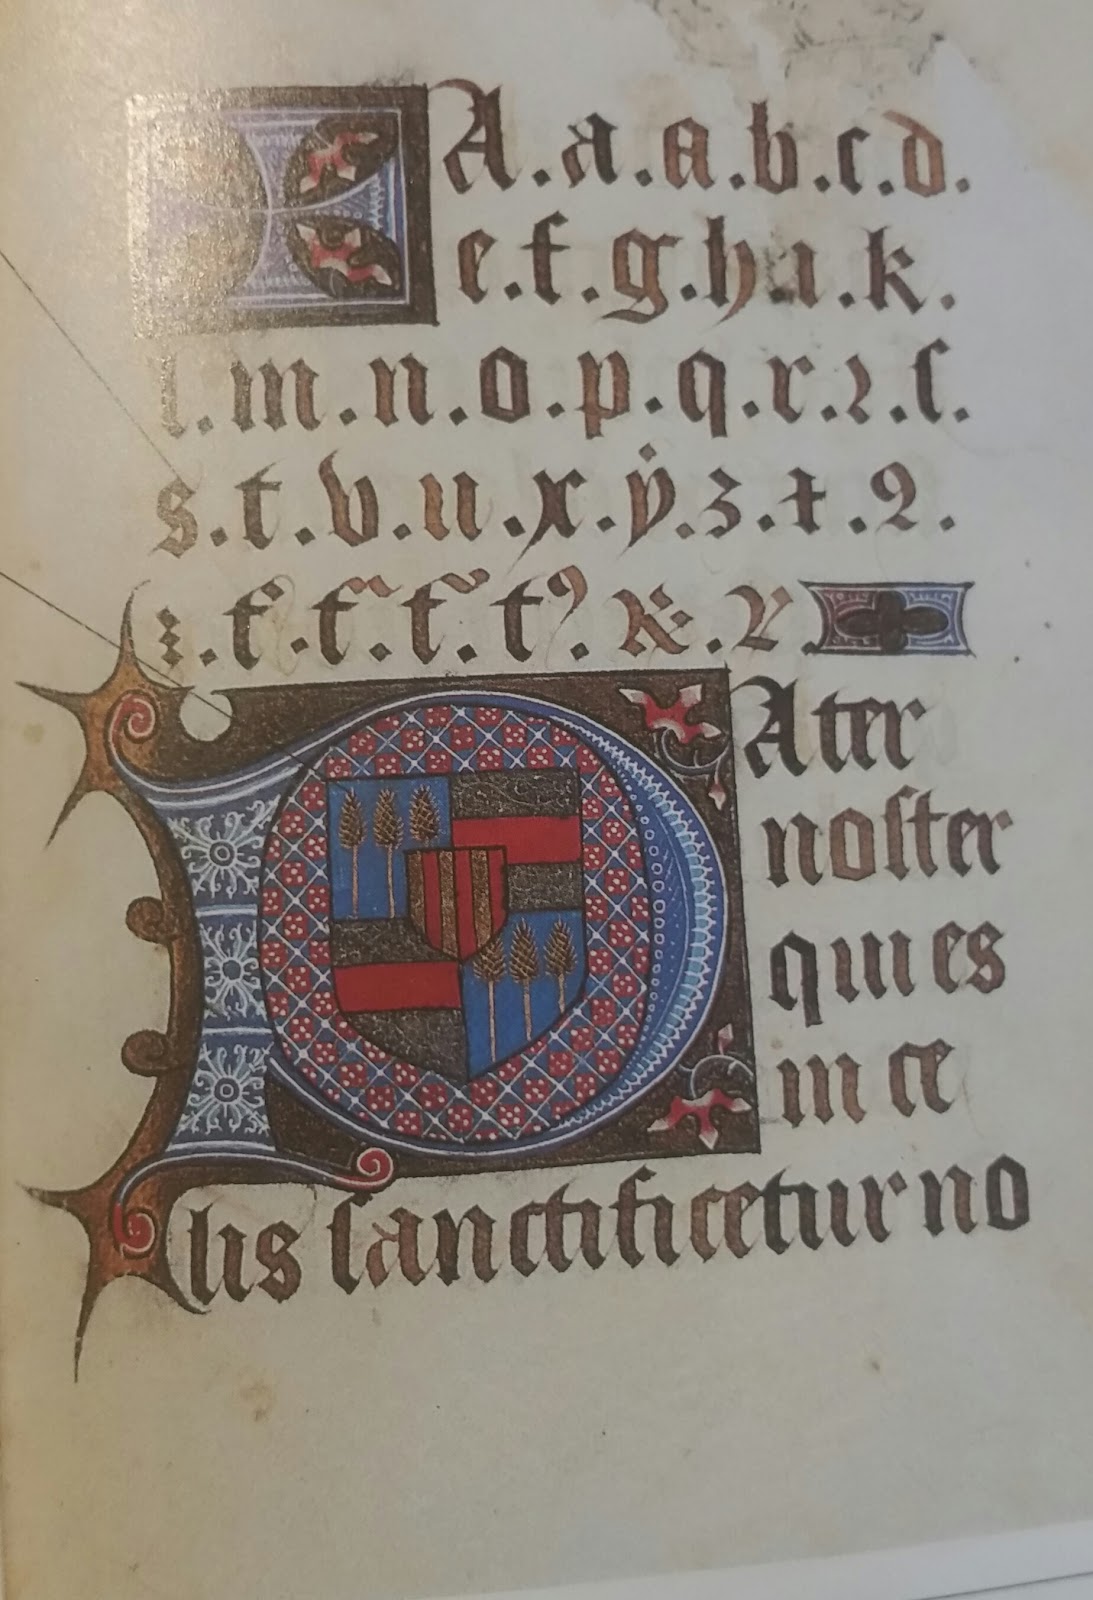
Though lino printing is not period, it is a great stepping stone to learning other period techniques such as Durer style WOOD CUTS, WOOD BLOCK PRINTING on fabric and basic WOOD CARVING.
LINOLEUM commonly shortened to Lino was invented by a Scot, Sir Frederick Walton in 1860.
Lino is made with ingredients such as oxidised linseed oil mixed with cork dust, sawdust, pine resin, gums, pigments and fillers such as calcium carbonate on a burlap or canvas base.

Materials:
Lino 10 x 14cm
Etching Ink (I used Charbonnel Aqua Wash)
Lino and wood carving tools
Self healing mat
Brayer (roller)
Flat surface (like glass) to roll out ink
Baren (back of wooden spoon works)
Cheap copy paper for proofing design
Good paper for final prints
Other:
Design to carve
Paper towels
Lead pencil
Bag for clean up
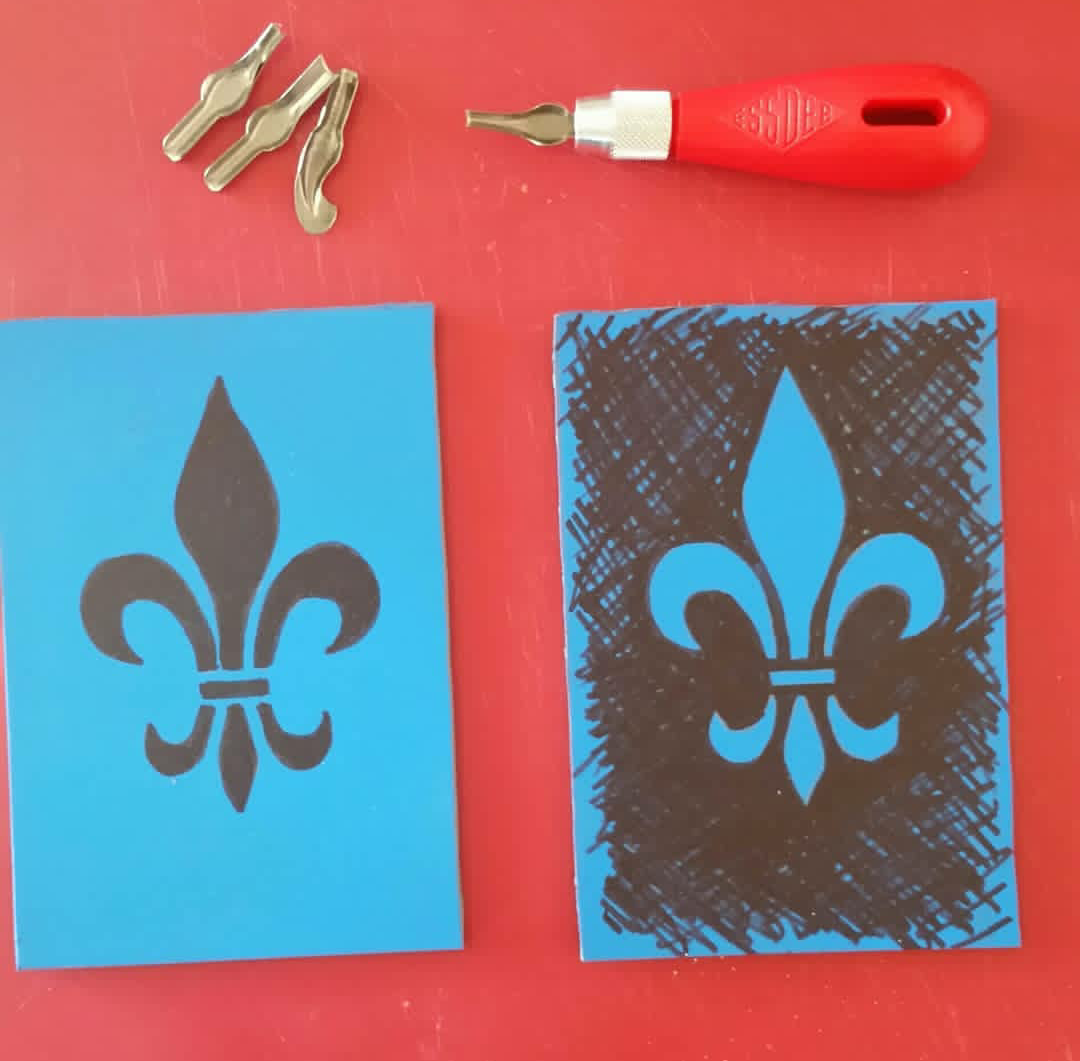
1. PUT THE DESIGN ONTO THE LINO:
There are many ways to get the design onto the lino:
Freehand. Drawing around something like a stencil. A computer print out which can be transferred with graphite paper. Drawing the design on paper then laying charcoal or graphite on the back of design and redrawing over original picture
Note: When doing the design it needs to be backwards (letters, numbers facing of design) on the lino so as to print the correct way
2. CARVING

You cut away the sections that you do NOT want to be printed. Use the best size and shaped carving tool that suits each section i.e round flat for larger sections. Small V shaped for details.
I find it best to cut around the outline then cut away from the design whilst turning the work
Do not force the cutting. It should cut away fairly easily. If it feels jammed then move to a different angle or choose a different carving tool
SAFETY: Cut away from your body. Be hyper aware of where your opposite hand is so as not to slip and cut it.
3. INKING UP:

Place a small amount of the etching ink on a smooth surface (a sheet of glass works best.
Using the Brayer you roll out the ink evenly to get a smooth coating on the tool.
You will hear a different sound from the ink when done correctly
4. INKING THE DESIGN

Roll the brayer evenly over the design. The ink should only be on the raised areas. If ink is appearing on other sections (this is referred to as 'chatter') it means it wasn't carved deep enough. This can be wiped off then corrected after 'proofing' the print.
5. PRINTING

Place the copy paper on to the inked lino. Do not slide it around. Then you use the baren (or back of a wooden spoon) to firmly but gently press the paper into the design to get an even coating of ink.
6. PROOFING
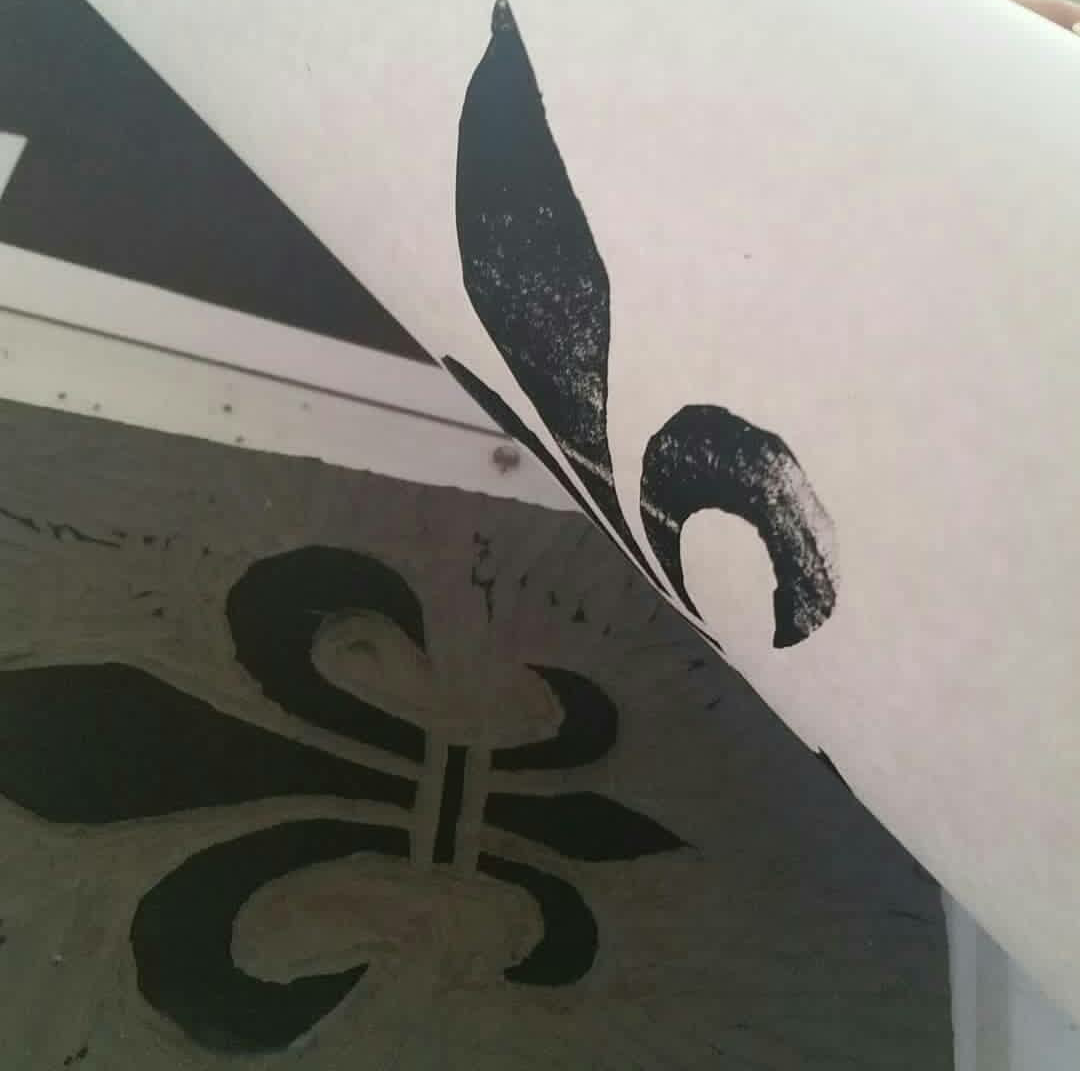
Pull away the paper carefully and check your design. Blank areas means more inking is needed. Can take several tries to achieve correct ink consistency.
Unwanted marks (chatter) means those areas weren't carved deep enough. So recarve those areas and repeat the proofing until you are happy with the outcome.
7. PRINT

When happy with the proofs, reprint onto good quality paper. I use smooth artists quality 100% cotton hot pressed (HP) watercolour paper.
Repeat the process as many times as desired.
Copyright: Corina Graham 2021

Comments
Post a Comment